
How toner reactive foil actually works, which foils transfer cleanly and why, equipment from pouch laminators to dedicated foil machines, sheet versus roll economics, and a supplier-side troubleshooting guide for craft makers, small businesses and print shops.
Table of Contents
- How toner reactive foil works (the actual chemistry)
- Why some toner reactive foils work better than others
- Equipment: laminators, dedicated machines and Cricut
- Pouch laminators (entry level, $50–200)
- Dedicated foil laminators ($200–2,000)
- Cricut and die-cut machine integration
- Toner reactive foil sheets vs rolls
- Step by step: how to make foil prints at home
- Troubleshooting the five most common problems
- 1. Foil does not transfer at all
- 2. Patchy coverage
- 3. Foil sticks where there is no toner
- 4. Dull or hazy foil
- 5. Rough or jagged edges
- Is it OK to use foil with discolouration?
- Printing on vinyl, plastic and fabric
- Screen printing vs heat transfer vs toner foiling
- Choosing the best toner reactive foil
- Frequently Asked Questions
By Gavin Gao — 15+ years in hot stamping foil manufacturing. Reach me at gavin@allinpacks.com or on LinkedIn.
I make hot stamping foil for industrial converters — the kind that runs through machines like the XG1080G automatic hot stamping press at 5,000 sheets per hour. But some of the sharpest technical questions I get come from craft makers and small print shop owners using essentially the same foil chemistry in a completely different way: feeding it through a $200 laminator on top of laser-printed toner.
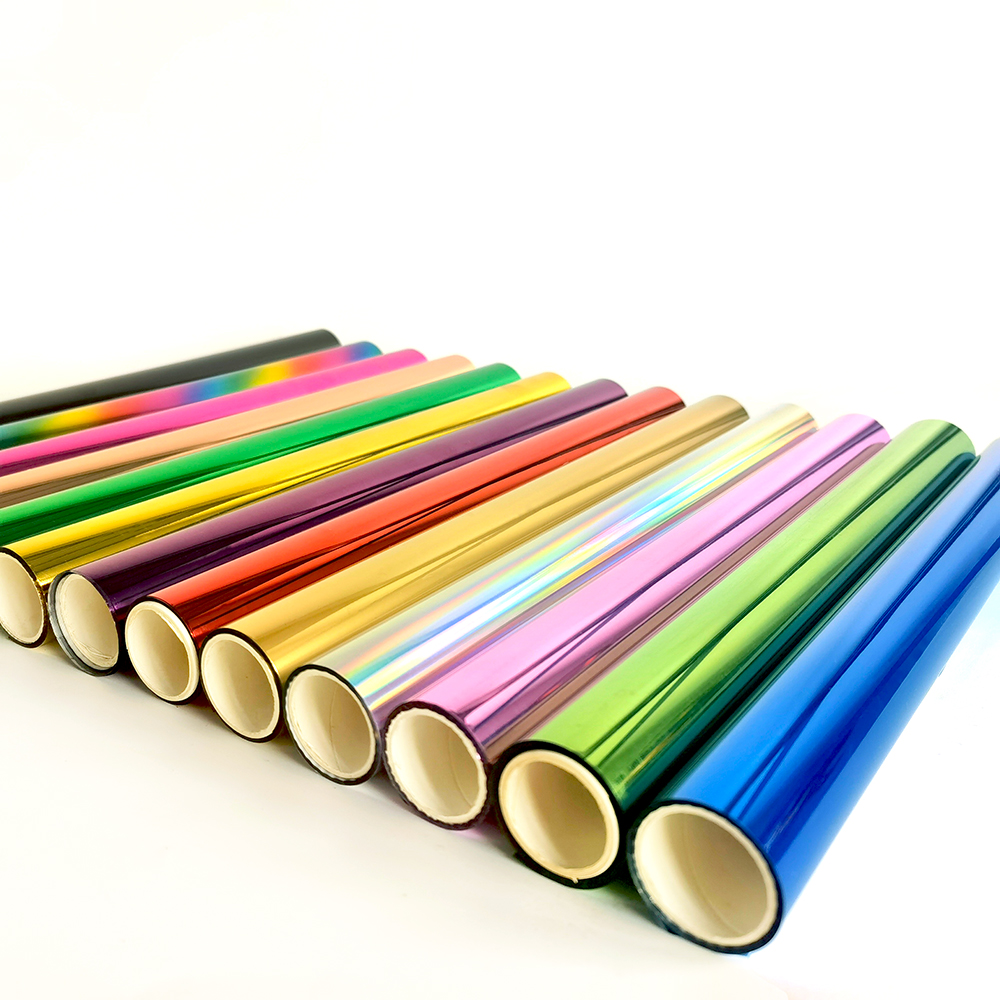
Toner reactive foil — also called toner transfer foil, reactive foil or deco foil — has been one of the fastest-growing segments of the foil market for five years. The concept is simple: your laser printer's toner is the adhesive. Print the design, run it through a foil laminator with reactive foil on top, and the foil bonds to the toner and peels cleanly off the blank paper. No dies, no UV adhesive, no capital equipment.
The results can be very good. They can also be very bad. The difference is almost always in the details — which foil, which toner, which laminator settings, which paper. Here is all of it from the manufacturing side, which is the perspective most toner foiling guides lack.
How toner reactive foil works (the actual chemistry)
Toner is not ink. It is a dry powder of plastic resin particles — typically styrene-acrylate copolymer — mixed with pigment. The printer's fuser melts the resin so it bonds to the paper, and on cooling the resin solidifies and locks the pigment to the surface.
The key point: that solidified toner is still thermoplastic. It re-softens with heat. Run a toner-printed sheet through a heated laminator with foil on top and the heat re-melts the toner surface just enough to become tacky. The foil's release layer is engineered so the metallised and adhesive layers separate from the carrier exactly when they meet that tacky toner. The foil bonds to the toner, the carrier peels away, and the metallic decoration sits precisely where you printed.
Where there is no toner, the adhesive layer finds nothing to bond to — bare paper surface energy is too low to activate the bond at laminator temperature — so the carrier lifts away with the metallised layer intact.
That selectivity is the whole process. It is also where nearly every problem originates.
Why some toner reactive foils work better than others
Not every foil labelled "toner reactive" behaves the same, and from the factory side the reason is specific.
The release layer is the critical variable. In industrial hot stamping foil, the release layer separates at 100–130°C under 2–4 MPa of die pressure. In toner reactive foil it must separate at 80–110°C under the nip pressure of two laminator rollers — roughly 0.2–0.5 MPa.
That is a fundamentally different engineering problem. A release layer perfect on an industrial press may need more heat and pressure than a laminator can supply, giving incomplete transfer. A release layer tuned for low-temperature laminator transfer may be too sensitive for industrial use, releasing prematurely in a warm warehouse.
The best toner reactive foils are formulated for the laminator window specifically: a lower release activation threshold and an adhesive reformulated to bond with re-melted toner rather than fresh substrate. That is why purpose-built toner reactive foil consistently beats generic hot stamping foil pushed through a laminator.
That said, I have run standard industrial foil through laminators and it can work — with higher temperature, slower speed and more pressure. If you already buy foil in bulk, test before adding a second SKU.
Equipment: laminators, dedicated machines and Cricut
Pouch laminators (entry level, $50–200)
A standard pouch laminator works if it has adjustable temperature — variable, not just hot/cold — and enough nip pressure for firm foil-to-toner contact.
Technique: set the highest temperature, typically 130–150°C at the roller, which lands around 100–115°C at the paper after heat loss. Feed the printed sheet and foil together, foil carrier side up. Single pass, cool 10–15 seconds, then peel.
Limits: A4/Letter width, uneven temperature across the roller (cheap units run 5–10°C hotter at the centre), and little pressure adjustment. Fine for craft work, not consistent enough for commercial output.
Dedicated foil laminators ($200–2,000)
Purpose-built foil fusing machines offer controlled temperature, consistent pressure and automatic foil/substrate alignment. They use heated platens rather than rollers for more uniform temperature, adjustable speed (slower means more heat into the toner) and wider formats up to A3 or 13 inches.
Above roughly 50 sheets a week, a dedicated machine pays for itself in reduced waste within months.
Cricut and die-cut machine integration
Cricut, Silhouette and similar cutters fit the workflow, though not the transfer step. Design in the software, print on a laser printer, transfer foil with a laminator or heat press, then die-cut the foiled piece to shape.
Cricut's own heated foil tip applies foil from a narrow ribbon — good for lines and outlines, but it cannot fill solid areas. For solid metallic fills, toner transfer remains the practical method.
Toner reactive foil sheets vs rolls
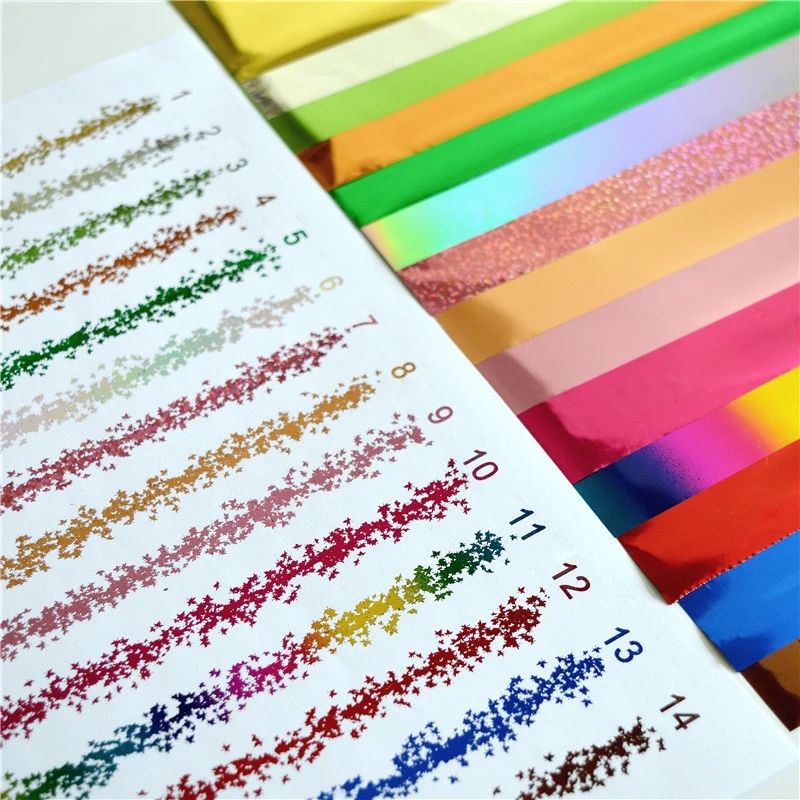
Sheets (6" × 12", 8" × 11" or A4) sell in packs of 5–50 at roughly $0.50–2.00 each. Right format for craft use, samples and very small runs.
Rolls (typically 12" wide × 100–500 ft) are the professional format: 40–60% lower cost per square metre and no waste from sheet-to-print size mismatch. Right for print shops and anyone producing more than about 50 foiled pieces a day.
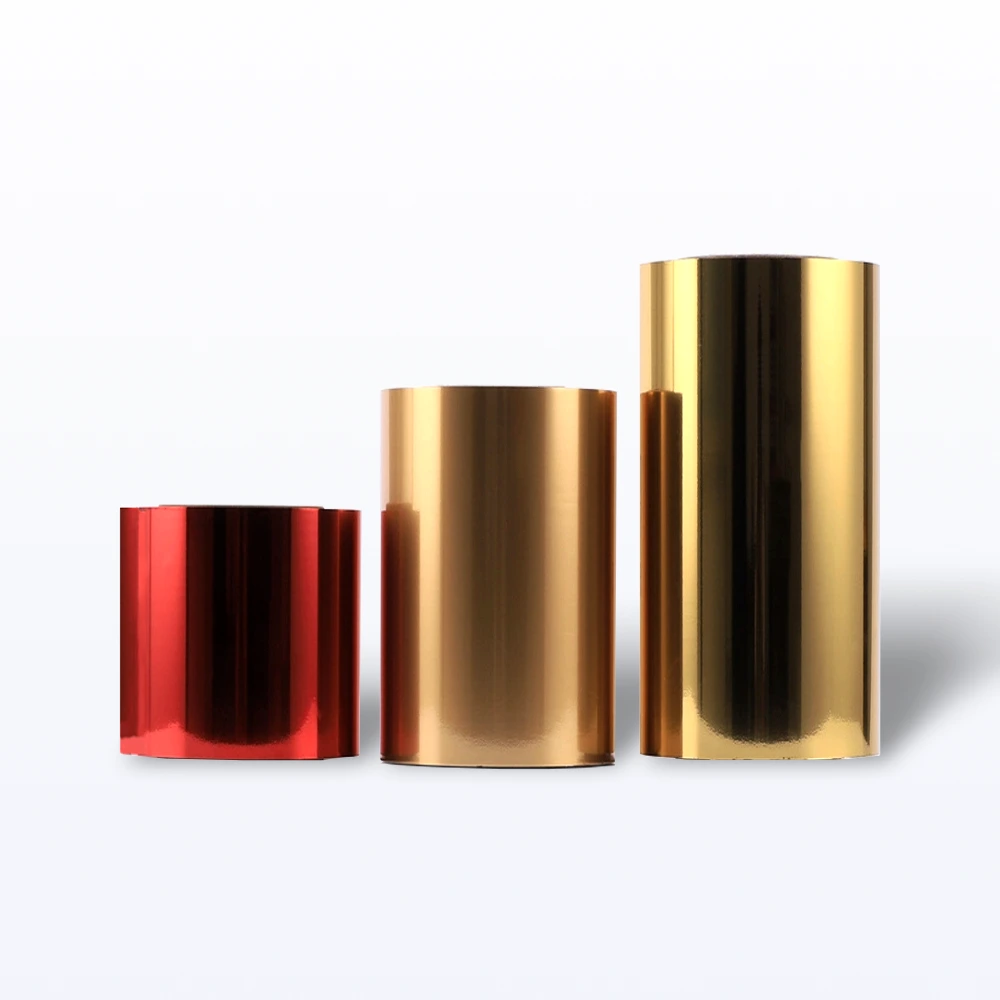
The gold matte metallic 12" × 100' roll is the most popular toner reactive product in North America — a warm gold that works across most toner types and paper stocks. If you want one roll that covers most jobs, that is the safe default. For the industrial equivalents, see our stamping foil range and digital toner foil.
Step by step: how to make foil prints at home
You need: a laser printer (not inkjet), toner reactive foil, a laminator with adjustable temperature or a heat press, and smooth coated paper or card stock at 200 gsm or above.
1. Print your design. Fresh toner, maximum density setting. Thin toner means a weak bond; dense saturated toner means a strong one. Black toner bonds strongest; light CMYK colours, especially yellow and cyan, bond slightly weaker.
2. Let the print cool completely. At least 5 minutes, 10 is better. Foiling a sheet still warm from the fuser gives uneven bonding.
3. Place the foil. Metallic/carrier side up, release side down against the toner, covering all printed areas.
4. Run it through. Highest temperature, slowest speed for the first test. The slower the pass, the more heat reaches the toner.
5. Cool, then peel. Wait 15–30 seconds. Peel slowly and steadily from one corner — slow peeling gives cleaner edges.
6. Evaluate. Complete transfer with clean edges means your settings are right. Patchy means more heat or a second pass. Foil sticking off-image means less heat, or smoother paper.
Troubleshooting the five most common problems
1. Foil does not transfer at all
Almost always temperature. Raise it, slow the pass, or run a second pass. Some cheap laminators top out near 100°C at the paper surface — below the activation threshold of many toner reactive foils.
2. Patchy coverage
Pressure or toner density. Good transfer in the centre and poor at the edges means uneven roller pressure; feed at a slight angle or wrap the piece in a card stock carrier to equalise it. Patchy across the whole print means thin toner — raise density and turn off economy mode.
3. Foil sticks where there is no toner
The paper is too receptive at your running temperature. Textured and uncoated stocks are the usual culprits. Switch to smoother coated paper, then lower temperature slightly — carefully, or you create problem 1.
4. Dull or hazy foil
Usually overheating, which damages the metallised layer and cuts reflectivity. Drop 10–15°C and slow the pass for the same total energy at a gentler peak. It can also simply be cheap foil: thin metallisation looks flat next to premium grades.
5. Rough or jagged edges
Foil follows toner edges faithfully, so fuzzy printer output gives fuzzy foil. Use a higher-resolution printer, or accept the limit. For razor-sharp edges you need industrial hot stamping with a precision die — see our guide to hot foil stamping dies and tooling.
Is it OK to use foil with discolouration?
Aluminium-based foil can develop a yellow or brown tint if stored in heat, humidity or sunlight. That is oxidation of the metallisation layer.
Mild discolouration usually transfers fine, because the deposited surface is the inner, unoxidised face. Severe cases — dark spots, flaking, visibly degraded metallisation — should be scrapped; transfer will be uneven or defective.
Prevention: keep foil in its original packaging below 30°C and 60% relative humidity, out of sunlight. Properly stored foil lasts 12–18 months. Foil left in a tropical garage can degrade in 3–6.
Printing on vinyl, plastic and fabric
Vinyl: possible, but not through a laminator — vinyl melts in a laser fuser. Print with a thermal transfer printer or screen print a heat-activated adhesive, then foil with a heat press.
Plastic cases: print mirrored on a laser printer, place face-down on the plastic, apply 100–120°C and pressure with a heat press. The toner transfers, then foil goes over it in a second heat pass. ABS and polycarbonate accept toner far better than PP or PE.
Fabric: laser print mirrored onto toner transfer paper, heat press onto the fabric, then heat press foil onto the toner areas. This is standard practice for metallic lettering on apparel and bags — related material is covered in our textile foil range.
Screen printing vs heat transfer vs toner foiling
Screen printing is the most durable and handles large areas, but carries per-design tooling and setup. Best for medium-to-large runs of one design.
Heat transfer works on many substrates with no tooling cost and excels at full-colour photographic work.
Toner foiling gives the best metallic result of the three, because it deposits real metallised foil rather than metallic ink or vinyl. For gold lettering, silver accents and holographic effects, it beats both. The trade-off is that coverage is limited to what your laser printer can lay down.
Practical answer for most small businesses: screen printing for large non-metallic runs, heat transfer for photographic work, toner foiling for metallic and holographic accents. A fuller machine-level comparison is in our hot stamping vs heat transfer vs screen printing guide.
Choosing the best toner reactive foil
Beginners: start with standard gold or silver in sheet format. Widest temperature window, most forgiving across toner types.
Consistent production: move to rolls above roughly 50 sheets a week. Lower unit cost and no sheet-alignment step.
Specialty effects: holographic, matte metallic, coloured metallic (rose gold, copper, tinted silver) and transparent holographic all exist in toner reactive formulations, but with narrower process windows. Get standard foils dialled in first.
Professional quality: look at metallisation density. Premium foils run 2.2–2.5 optical density against 1.8–2.0 for economy grades, and the difference in mirror-like vividness is visible. Expect a 30–50% price gap.
Reviewed by Gavin Gao, Technical Director at All-in Pack, with more than fifteen years in foil manufacturing covering release-layer chemistry, metallisation technology and foil application across industrial, commercial and craft markets.
All-in Pack supplies toner reactive foil in sheet and roll formats through our Aifoils brand, alongside industrial hot stamping foil and cold stamping foil. For samples or bulk pricing, contact us or email gavin@allinpacks.com.
For the broader comparison of foil application methods, see our foil stamping vs digital foil vs cold foil cost comparison. For substrate data, see the complete foil-substrate compatibility matrix.
Frequently Asked Questions
Quick answers about toner reactive foil.
Related Articles
View all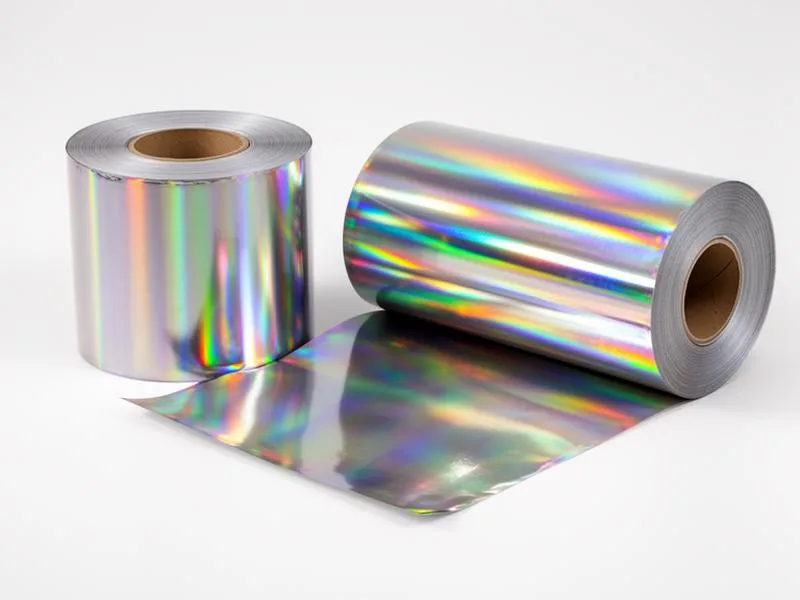
Technical Knowledge · Aug 25, 2026
Holographic Foil Printing: The Complete Technical Guide (2026)
How holographic foil printing actually works — hot stamping, cold foil and transfer sheets compared, the four holographic foil families, security OVD requirements, honest limitations, and a step-by-step way to choose the right method for your run length.
Technical Knowledge · Apr 10, 2026
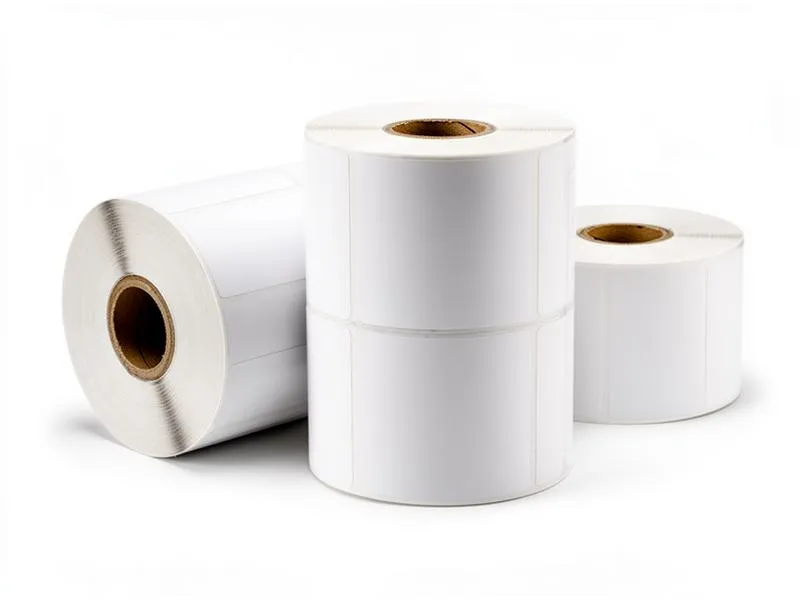
Self-Adhesive Label Material: A Buyer's Guide
Choose the perfect self-adhesive label material for your product with this comprehensive guide, ensuring durability and optimal performance. Learn what to consider for your labels today.
Technical Knowledge · Apr 20, 2026
Hot Stamping Foil for Paper Packaging: Buyer's Guide
Choose hot stamping foil for paper packaging with confidence. This guide helps buyers match foil to substrates and optimize stamping for luxury cartons.
Ready to source foil stamping and die-cutting from one supplier?
From stamping foils to post-press machines and die-cutting consumables — get factory-direct pricing and free samples.