
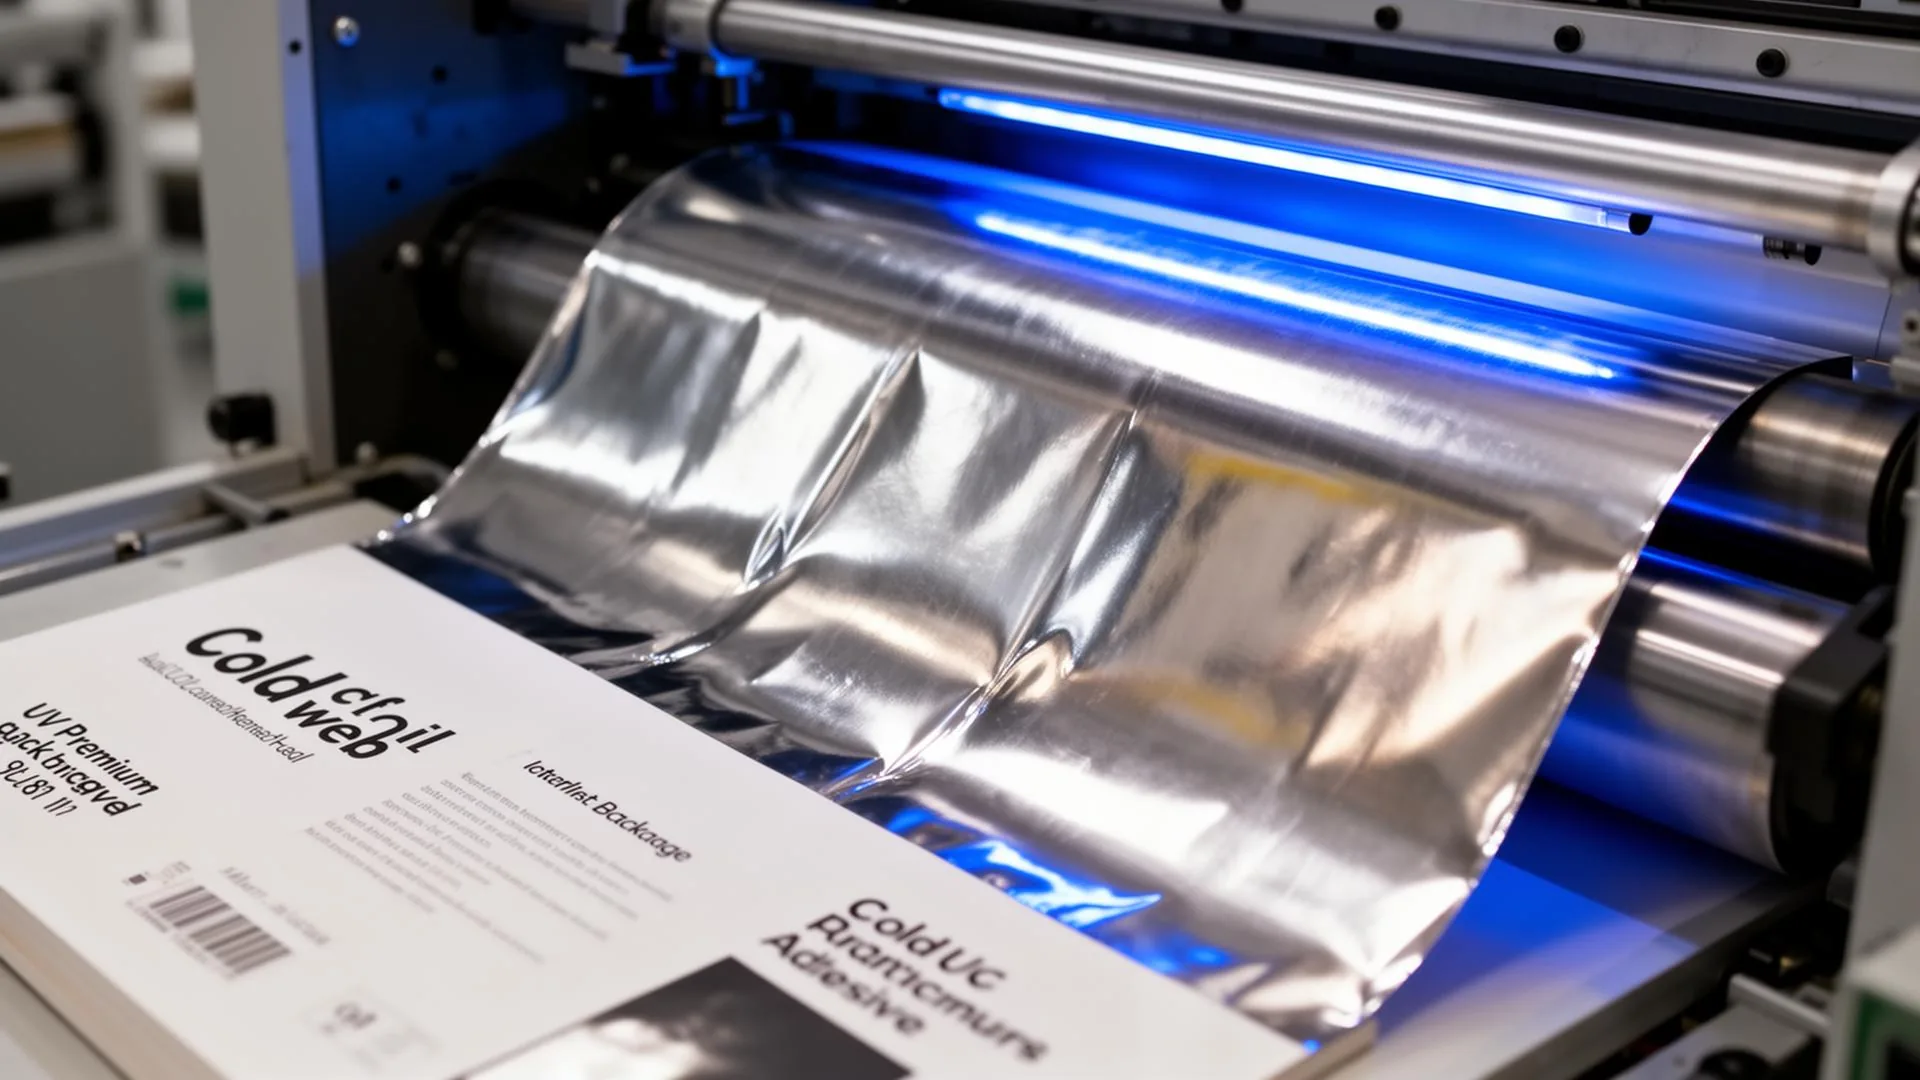
Step-by-step cold foiling process: UV adhesive, foil lamination, UV cure, carrier peel — with parameters, defect fixes and cost benchmarks for 2026.
Table of Contents
- 1. What Is the Cold Foiling Process?
- 2. Cold Foiling Process — Step by Step
- Step 1 — Print the UV-curable adhesive
- Step 2 — Laminate the foil web onto the adhesive
- Step 3 — UV cure the adhesive
- Step 4 — Peel the carrier away
- 3. Cold Foiling Process Parameters at a Glance
- 4. Materials That Drive the Process
- 4.1 The foil itself
- 4.2 Substrates that work
- 4.3 Adhesive chemistry
- 5. Inline Cold Foil vs Offline — Which Layout Wins?
- 6. Common Defects and How to Fix Them
- 7. Economics — When Cold Foiling Process Pays Off Fastest
- 8. Sustainability Considerations
- 9. Putting the Cold Foiling Process Into Production
- Frequently Asked Questions
The cold foiling process is the fastest growing inline metallic decoration method on the planet — and for good reason. Where hot stamping needs a heated metal die and a separate finishing pass, cold foil lays down a mirror-bright metallic image inline with the press, at full production speed, using nothing but UV-curable adhesive, a foil web, a nip roller and a UV lamp. This guide walks through every stage of the cold foiling process the way it actually runs on a converting line in 2026: machine layout, materials, parameters, defect fixes and unit-cost benchmarks pulled from real factory data.
1. What Is the Cold Foiling Process?
Cold foiling is a transfer process. A flexo or offset unit prints a UV-curable adhesive in the exact image you want metallised, a foil web carrying a thin metallised layer is pressed onto the wet adhesive under a nip roller, the assembly passes under a UV lamp that instantly cures the adhesive, and the polyester carrier is peeled away — leaving the metallic film bonded to the substrate only where the adhesive was printed. No heat, no metal die, no separate finishing pass. The full cycle is mechanical and chemical, not thermal, which is the single biggest reason the Cold Stamping Foil we supply is engineered with a release coat that lets the carrier separate cleanly at room temperature.
For a side-by-side view of how cold foil compares to hot stamping and digital toner foil on cost, run length and substrate range, see our 2026 foil method comparison.
2. Cold Foiling Process — Step by Step
Step 1 — Print the UV-curable adhesive
The image to be metallised is printed as a wet film of UV-curable adhesive, typically 2–4 µm thick, by either a flexo plate (most common on narrow- and mid-web label presses) or an offset blanket. Adhesive viscosity is held at 200–400 cP at 25 °C. The plate or blanket only deposits adhesive in the image area — this is what gives cold foil its characteristic efficiency: foil only transfers where you actually need it.
Step 2 — Laminate the foil web onto the adhesive
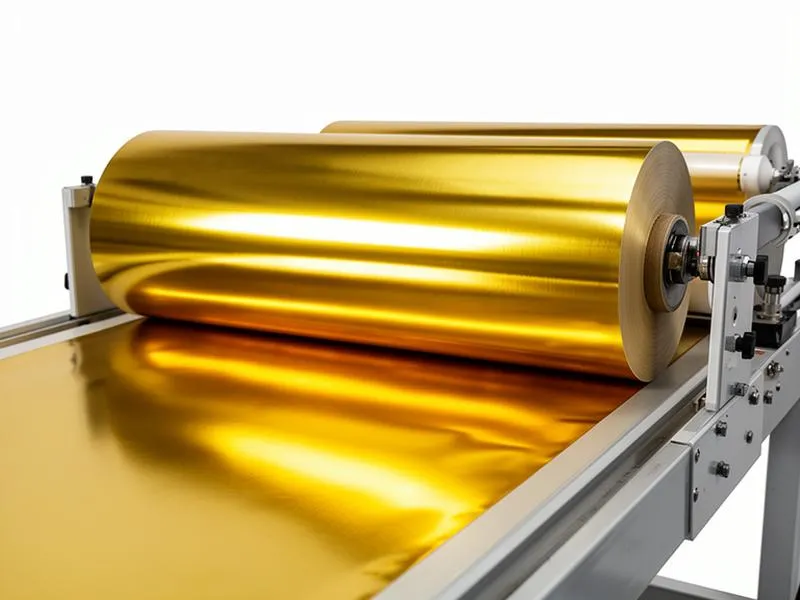
Immediately downstream of the adhesive station, a roll of cold stamping foil is unwound and brought into contact with the still-wet adhesive layer by a nip roller. Nip pressure is typically 2–4 bar, web tension is held at 0.6–1.0 N/mm width, and contact is maintained for the few milliseconds it takes the substrate to traverse the nip. This is the only place in the cold foiling process where mechanical pressure matters — too low and the foil floats; too high and adhesive squeezes outside the image area, causing edge halo.
Step 3 — UV cure the adhesive
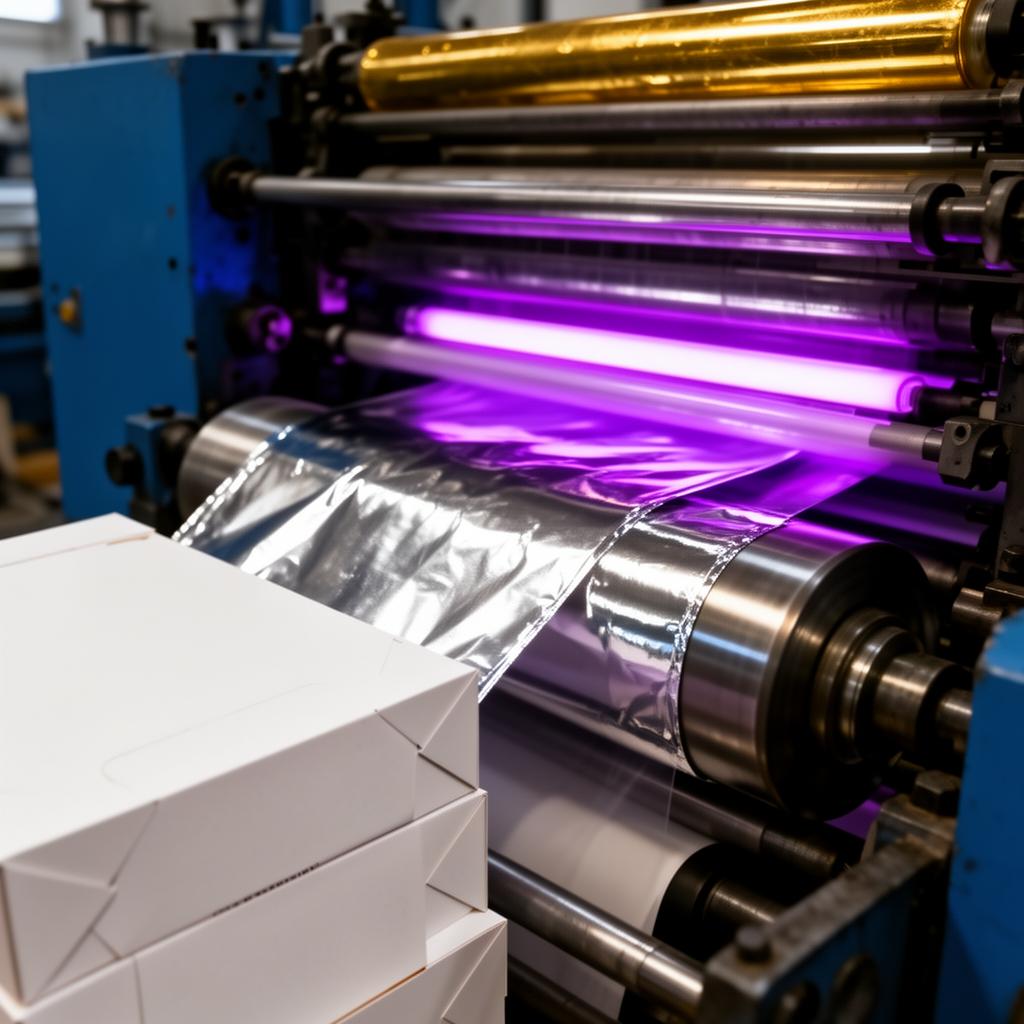
While the foil and substrate are still in contact, the laminated stack passes directly under a UV lamp (mercury arc, 120–200 W/cm, or LED-UV at 16–20 W/cm² with peak at 395 nm). Cure happens in under 0.05 s. Once cured, the adhesive bond strength to the metallised layer exceeds the release-coat bond between the foil and its polyester carrier. That asymmetry is what makes the next step possible.
Step 4 — Peel the carrier away
A take-up rewind pulls the polyester carrier off the substrate at a peel angle of 30–60°. Because the cured adhesive grips the metallised layer harder than the release coat does, the metal stays on the substrate in the exact image shape — and the carrier (now a mostly-empty PET web with the unused metallised bands still attached) winds onto the rewind roll. The decorated substrate continues downstream to die-cutting, varnishing or overprint.
3. Cold Foiling Process Parameters at a Glance
The numbers below are the working envelope our process engineers use when commissioning cold foil units on customer presses — adjust within these ranges, never outside them, unless your foil and adhesive supplier explicitly approve.
| Parameter | Typical range | Effect if too low | Effect if too high |
|---|---|---|---|
| Adhesive film thickness | 2–4 µm wet | Pinholing, weak transfer | Edge halo, slow cure |
| Adhesive viscosity (25 °C) | 200–400 cP | Excess flow, ghost image | Plate starvation, stripes |
| Nip roller pressure | 2–4 bar | Foil "floats", missing dots | Squeeze-out, halo |
| Foil web tension | 0.6–1.0 N/mm | Wrinkles, register drift | Foil web breaks |
| UV dose (mercury) | 120–180 mJ/cm² | Soft cure, foil flakes | Substrate yellowing |
| UV dose (LED-UV 395 nm) | 250–400 mJ/cm² | Tacky surface, slow peel | Lamp life shortened |
| Peel angle | 30–60° | Foil tear-out in solids | Metallic dust, edge chip |
| Press speed | 60–200 m/min | Adhesive over-cures pre-nip | Insufficient UV dose |
| Foil utilisation | 5–15% of web | Cold foil's biggest economic advantage vs hot stamping | |
4. Materials That Drive the Process
4.1 The foil itself
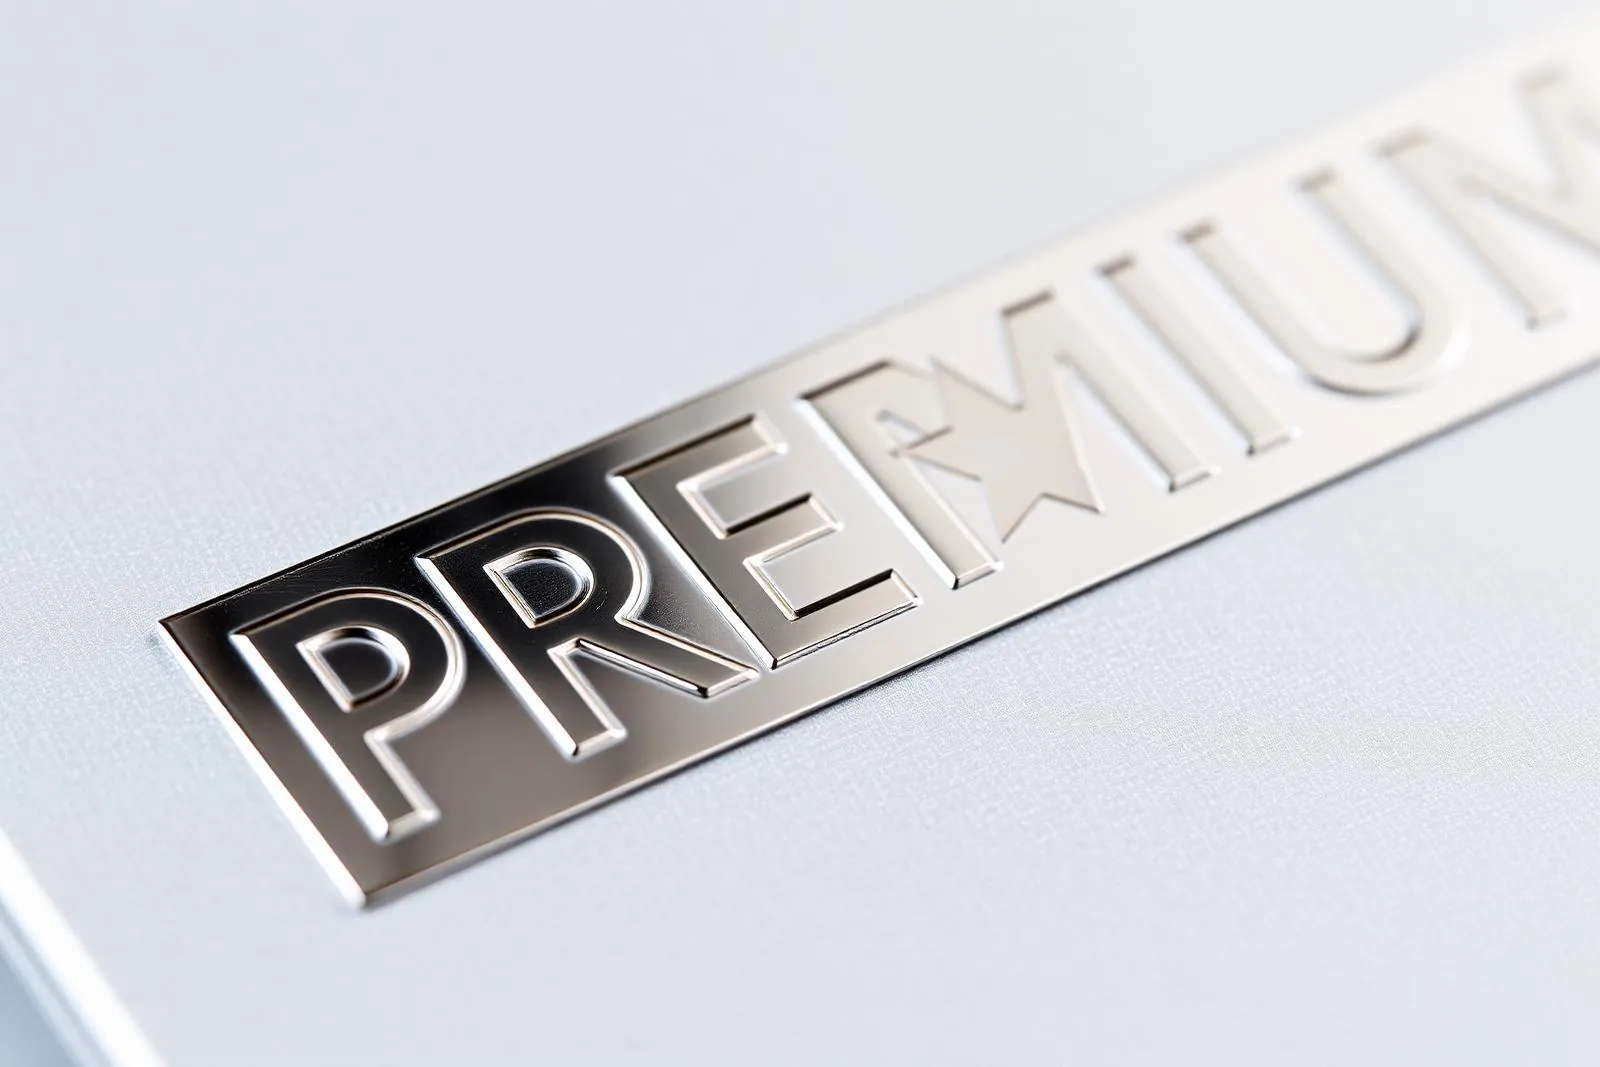
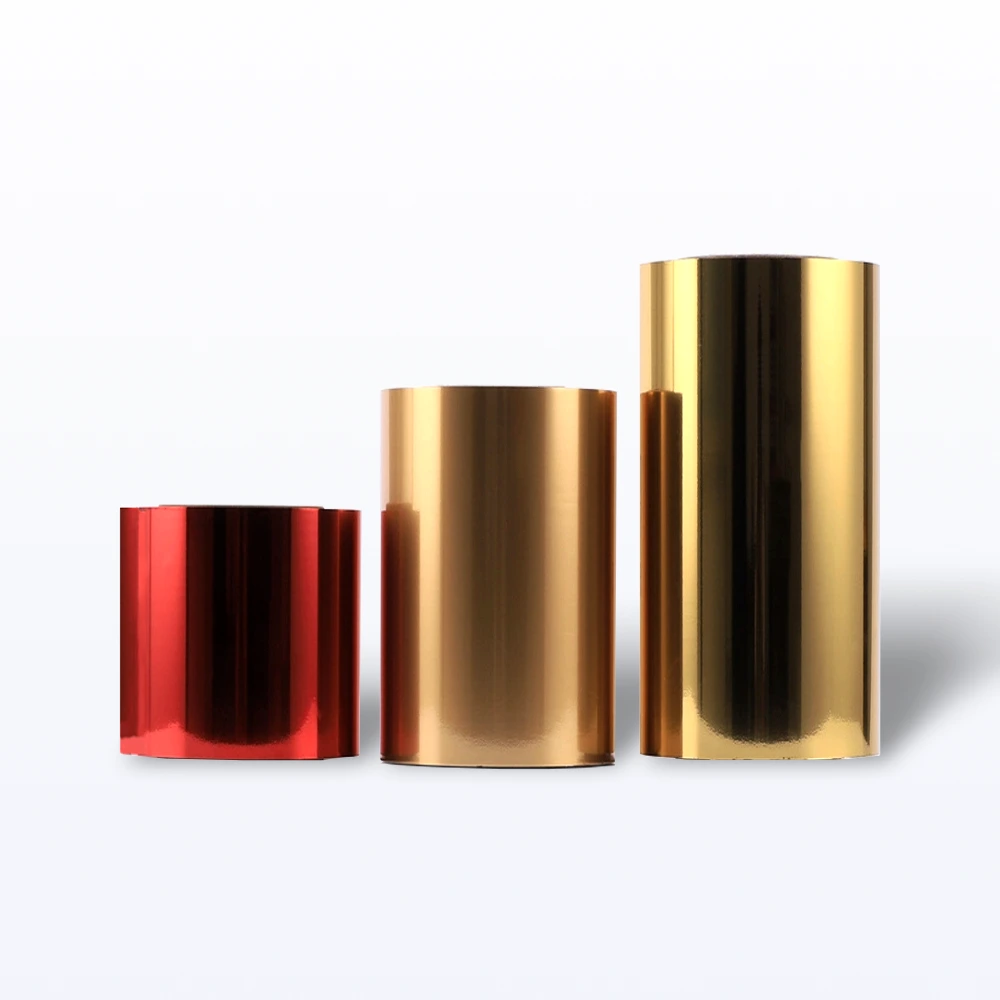
A cold foil is a multi-layer film: PET carrier (12 µm) → release coat → colour lacquer → vacuum-metallised aluminium (40–50 nm) → size coat that bonds with the UV adhesive. The carrier is what the take-up rewinds; everything below the release coat ends up on the substrate. We supply cold stamping foil calibrated specifically for UV-flexo and UV-offset adhesive chemistries used on Heidelberg, Manroland, Gallus, Mark Andy and Bobst lines.
4.2 Substrates that work
Cold foil performs best on smooth, low-absorbency surfaces: coated paperboard, BOPP, PET and PE film. Uncoated kraft and high-tooth fine art papers are not recommended — adhesive sinks into the fibre and starves the metallised interface. For paper-based packaging, pair the cold foil with gloss white self-adhesive label paper or coated SBS board for the cleanest mirror finish.
4.3 Adhesive chemistry
Modern cold-foil adhesives are 100% solids UV acrylates with photoinitiator packages tuned to either mercury or LED-UV lamps. Suppliers such as Actega and Sun Chemical publish full data sheets per substrate family.
5. Inline Cold Foil vs Offline — Which Layout Wins?
There are two production layouts. Inline places the cold-foil unit between print stations of a flexo or offset press, so the metallic decoration happens during the same pass that prints CMYK — fastest, lowest unit cost, but the press has to be cold-foil capable from day one. Offline runs cold foiling on a dedicated converting machine after printing — more flexible for short runs and combination jobs but adds a pass. For long-run flexible packaging and labels, inline wins on cost; for shorter premium runs that mix cold foil with embossing or hot foil accents, offline is more agile and pairs well with our XG1080G hot stamping machine for combination decoration jobs.
6. Common Defects and How to Fix Them
| Defect | Likely cause | First-line fix |
|---|---|---|
| Pinholes inside solid metallic areas | Adhesive starvation or substrate dust | Increase anilox volume by 10–15%, add ionising bar |
| Edge halo / fuzzy outline | Adhesive squeeze-out at nip | Reduce nip pressure 0.5 bar; check plate hardness ≥ 70 Shore A |
| Foil tear-out in fine text | Peel angle too shallow | Raise peel bar; target 45°; verify rewind tension |
| Metallic dust / spray | Over-cure of adhesive before peel | Reduce UV dose 10–15%, move lamp slightly downstream |
| Wrinkles across web | Uneven foil tension | Re-zero load cells, check dancer arm friction |
| Ghost image on next sheet | Adhesive transfer to nip roller | Clean nip with IPA, lower viscosity by 5% |
When a press first switches a job from hot foil to cold foil, expect a 20–30 minute optimisation window. Do not chase three parameters at once — change adhesive volume first (anilox), settle, then nip pressure, then UV dose. Changing all three together is the single most common reason commissioning takes a full shift instead of an hour.
7. Economics — When Cold Foiling Process Pays Off Fastest
Cold foil has the lowest incremental cost per metre of any metallic decoration once a press is properly configured. On a 220 m/min flexo line running 10,000 m of label stock with 18% metallic coverage, our internal benchmarks show:
- Foil consumption: ~6.5% of unwound web (versus 35–55% for hot stamping)
- Adhesive cost: USD 0.012–0.018 per m² of substrate
- UV energy: 0.04–0.06 kWh per 1,000 m of web
- Tooling: one flexo plate (~USD 200–400) — versus a metal die per design for hot stamping
- Setup time: 10–20 min from cold press, no die mounting
The break-even versus hot stamping typically lands around 20,000 impressions for a single design; above that, cold foil wins decisively on unit cost. Below it, hot stamping is still cheaper because plate amortisation hurts cold foil on micro-runs. For very short runs (under 2,000 sheets), digital toner foil with our Digital Toner Reactive Foil is the right answer.
8. Sustainability Considerations
Cold foiling is the most material-efficient of the three foiling methods because the foil web only releases its metallised layer where the adhesive was printed — the rest of the web continues onto the rewind. Industry bodies including FINAT and TLMI have documented foil utilisation efficiencies of 85–95% in inline cold foil, versus 40–70% for typical hot stamping. PET carriers from spent cold foil rewinds are now collected by several European recycling streams; ask your converter whether their region participates.
9. Putting the Cold Foiling Process Into Production
If you are evaluating cold foiling for a new SKU, the practical sequence is: (1) confirm your press has, or can be retrofitted with, a cold-foil unit; (2) run a 500-sheet trial on the actual production substrate using the foil and adhesive your supplier recommends together — never mixed across vendors on the first trial; (3) measure pinhole count, edge sharpness and pull-tape adhesion; (4) only then commit to the full run length. We support converters through every step — request a cold foil consultation and our process engineers will share the full parameter sheet for your specific press and substrate combination.
Ready to source the foil itself? Browse our full Foils catalogue or jump straight to the Cold Stamping Foil page for technical specifications, MOQs and lead times.
Frequently Asked Questions
Quick answers about cold foiling process.
Companion Products
Specs and samples for the products discussed in this article.
Related Articles
View all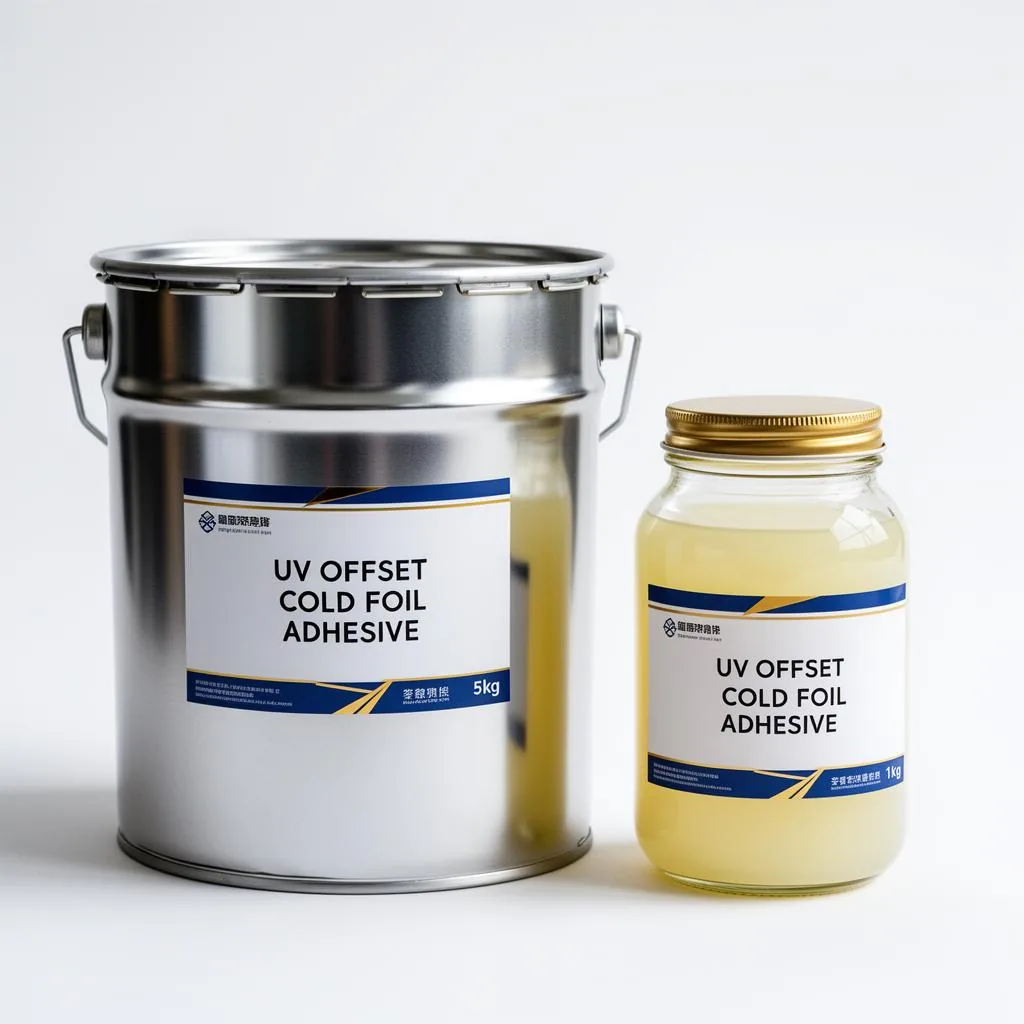
Technical Knowledge · May 25, 2026
Cold Foil Anilox Roller Selection: BCM & LPI Guide
Optimize cold foil stamping with our anilox roller selection guide. Learn BCM, LPI, and cell geometry to choose the right cold foil anilox roller for your needs.
Technical Knowledge · Apr 21, 2026
Hot Foil vs Cold Foil vs Digital Foil: 2026 Comparison
Compare hot foil, cold foil, and digital foil to find the best foiling method for your packaging needs. This guide offers insights on metallic finishes.
Technical Knowledge · Aug 25, 2026
Foil Stamping vs Digital Foil vs Cold Foil: Which Method Actually Wins on Cost?
An honest four-part cost comparison of hot foil stamping, cold foil and digital foil — tooling, material, machine time and changeover — plus the run-length crossover points, substrate limits and lower-cost alternatives to foil altogether.
Ready to source foil stamping and die-cutting from one supplier?
From stamping foils to post-press machines and die-cutting consumables — get factory-direct pricing and free samples.